
HOW GOLF CLUBS ARE ASSEMBLED IN HCC (PART 3)

This article is the third installment of the HCC method and especially mine.
If you have not yet read the other two articles, the first two parts of this series, here I leave them.
Then you want to know how the fitting process and the HCC Xperience It is an article that you must read since this article is where I am going to show you some of the differences that we have in the assembly and in the finishes of the clubs when I manufacture them.
Once you have read it, first of all thank you for doing it, I hope it will help you to see that during the whole process I am different from the others and I carry out a fitting process with a personal touch and with the knowledge obtained during all the years of experience .
I have not dedicated myself to anything other than to do fittings and to manufacture golf clubs.
HOW ARE SOME CLUBS ASSEMBLED STEP BY STEP?
Before beginning, I want this to help you see that the secrecy that many have when assembling the clubs is usually motivated by the fact that the steps to do so are not followed correctly.
So I am going to explain it to you in a clear and simple way
Step 1: Golf club specifications
Knowing the specifications that we have set in the fitting afterwards what we do is exactly measure the fitting stick and take the following specifications:
- Lenght fixed in the fitting.
- Lie of the fitting iron.
- 6 iron loft (number of the club we work with).
- Head weight nº6 (normally we work with heads with a 270gr fitting adapter, with a tolerance of plus or minus 1gr).
- Shaft weight with grip.
- Frequency of the shaft without grip.
- Weight of the grip used.
- Amount of tape necessary for the correct adjustment of the hand.
- Swing weight.
- Total weight of the club.
- Selected shaft and the type of assembly carried out (in our case, the fitting assembly is always to FLO).
That is the basis so that later the assembly process can be done with a clear objective, and that information will be in the medical file that we do during the interview, the fitting and now we record the approach that we are going to give to the game of sticks.
2nd Step – Mounting the Mirror Club
You will wonder what is that mirror club, since it is the basis for the game of clubs, we can do it with the same characteristics as the measurements that we have taken during the fitting.
In my case in HCC we work the irons with the iron 6, and what we look at then is to take the 6 iron of the new game, the shaft that we will mount and the grip by weight and we will assemble a club identical in specifications to the fitting one.
Once we have the mirror club mounted, I can already know the type of tip of the tip, how often I have to cut the shaft to reach the swing weight that I want to have and that way I have the flex and balance fully controlled.
For this when I ask for shafts to make a set of irons, I always ask for two extra shafts so I can search for exactly what I want.
The used shaft is then discarded and a new shaft is cut to the same cut specifications. (the shaft used will never be mounted on a club again, it is our protocol)
When that is completely clear, those specifications are recorded in the player's medical file. And the next phase begins.
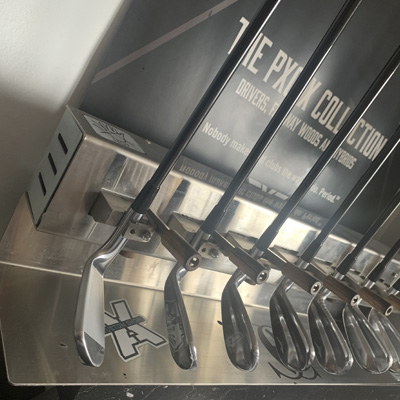
Step 3: Assembly of the entire set of irons
Once I have the mirror club, the assembly is much easier, since I know exactly the cut of the tip that I have to make in the tip of the shaft and that will allow me to cut the tip in proportion for the irons that go above from 6 and below 6.
Now is where you will be surprised how I do it since it is not normal, but it helps me to never get confused with the cuts.
I disassemble the 6 iron again and leave everything as of origin before assembling it and proceed to the final assembly.
In the final assembly I follow the Next steps:
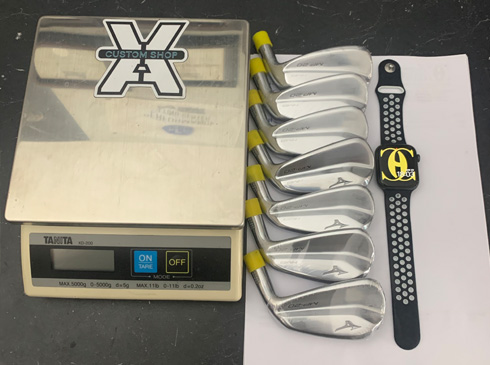
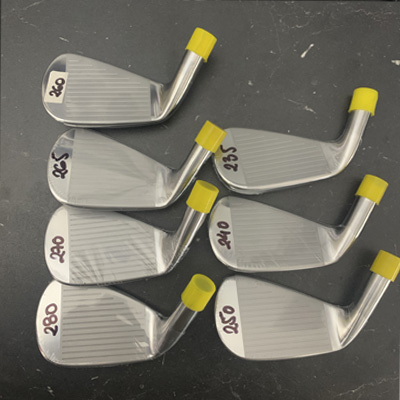
WEIGH ALL THE HEADS
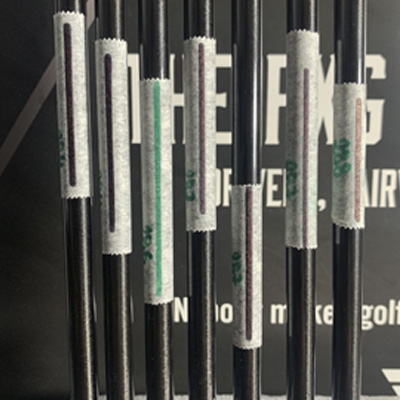
WEIGHING OF SHAFTS
We have to follow the same process of the heads, in this step I look at the weight and the frequency in a random way (for example with graphite rods with the drawing always in the same position).
I do this because in a set of 10 shafts, not all of them weigh the same and they do not have the same frequency.
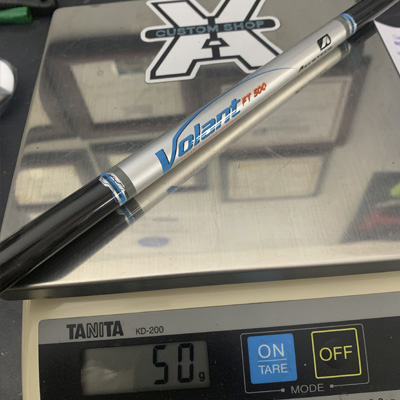
I ALWAYS carry out this process, whether for 1 shaft or 100 shafts, my players always require the best of me and I demand it of myself.
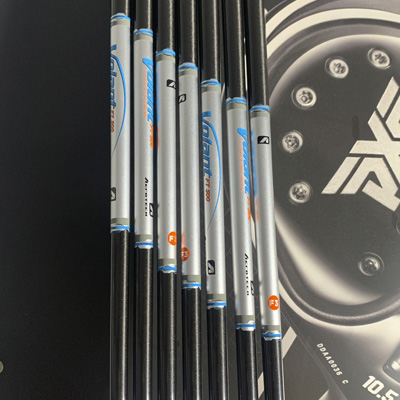
PROFESSIONAL SHAFT ALIGNMENT
Many of you will think that the shaft assemblies that you find in specialized golf stores are correct, and honestly they are, but... here I would like you to ask yourself the following:
¿Do you think all shafts are the same?
Is it possible that they are so well made that the drawing always remains the same?
My answer is simple, the shafts are not all the same, that is why they are production lines in series, in multi-materials, resin and braided chains, painted and quality control, but if we measure them in the frequency machine with the position of the drawing as we define , despite being of the same length of origin, the frequency will change from one to the other.
But I go further...
Yes, there are rods that are so well made that they can be mounted with the drawing in the position that the manufacturer says (Seven Dreamer Shafts), but I can assure you that the 4-Pw set of clubs would not cost €800-1,000.
Its price is much higher.
For the alignment of the rods I follow two different procedures.
Depending on the objective you want to have in the player and for me they are very optimal, since they help to maximize the performance of the shaft in the backswing and in the downswing.
Making the face on impact always arrive the same way, generating consistency.
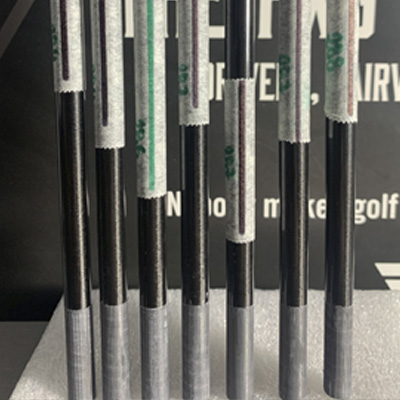
Once we have that, we have to cut the shafts having the cutting reference the frequency of the mirror shaft.
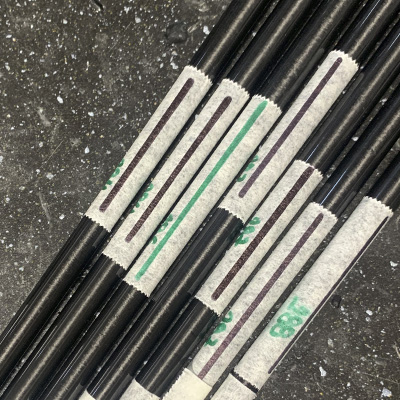
In this way, when the tip is cut to install the shafts in the heads, it is time to sand them.
Many assemblers in the world do it wrong, when it is a matter of sanding fiber or graphite shafts, since they sand the shafts a lot with the belt sander with which if they do not have full control of the speed of rotation and pressure against the band what is produced is a weakness of the wall of the shaft.
They do this to shorten assembly times, but if you plan to invest 5' in sanding and doing it as it should, it allows us to have a 1% guarantee for breakage of the tip of the shafts.
In multimaterial and graphite shafts, this 1% does not reach 0.4% of rods per year.
That is synonymous with the HCC's sanding process is excellent in quality and sanding procedure.
SET INSTALLATION AND ASSEMBLY
Once we have the shafts ready to install, we proceed with the assembly, in this case it is when I prepare 24-hour epoxy.
To proceed we mount the ferrule and ballast that we have calculated so that each head has the balance we need.
This phase many clubmakers sometimes they do not take it into account and that is where the problems arise, the club does not work as in the fitting.
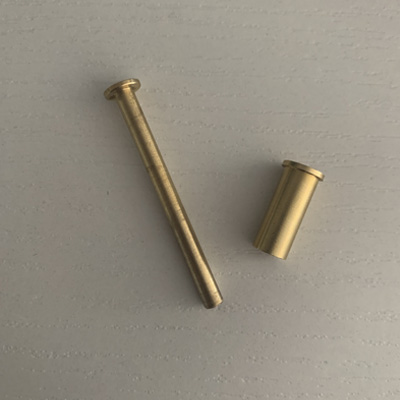
Weights for the Swing Weight (Steel/Graphite1) 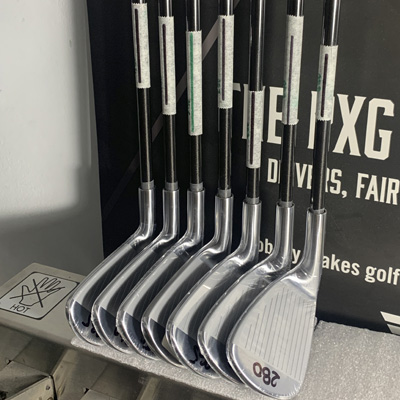
Once we have the ferrules and the weights for the swing weight pre-installed, it is when I proceed to the application of the epoxy that has a methodology for applying the epoxy is something personal, in my case each head together with the shaft will take a maximum of 1gr or 1.5gr per stick.
Here we do the first check of the set of clubs where we look at the swing weight and the length of the club so that the assembly does not have failures.
When everything is in place and with clinical cleaning of all the material, then the drying period begins.
For 9 years I have been working with a machine that I have in my three workshops where, using the 24-hour glue, we managed to speed up the drying with heat for 30-35 minutes and the glue is completely homogeneous without any type of bubble that causes it to detach.
When the process is finished, the next phase that I like to do like this is put the grips on and let them dry to see the balance of the sticks after drying.
Once we have the dry sticks, I start the 2nd check in this case much more precise:
- Lie & Loft
- length
- Swing Weight
- Frequency
- Grip size, desired measure.
- Cleaning of rods and remains of epoxy that may remain.
And finally we finish the ferrules and leave them shiny like a factory finish. Later we remove the protective plastic from the heads and we bag them with another bubble wrap that is easier to remove.
In the next article I will explain the work I do when I deliver the clubs and the 3rd revision of the material with the client in situ and final adjustments.
© Miki Rapado ®, 2020